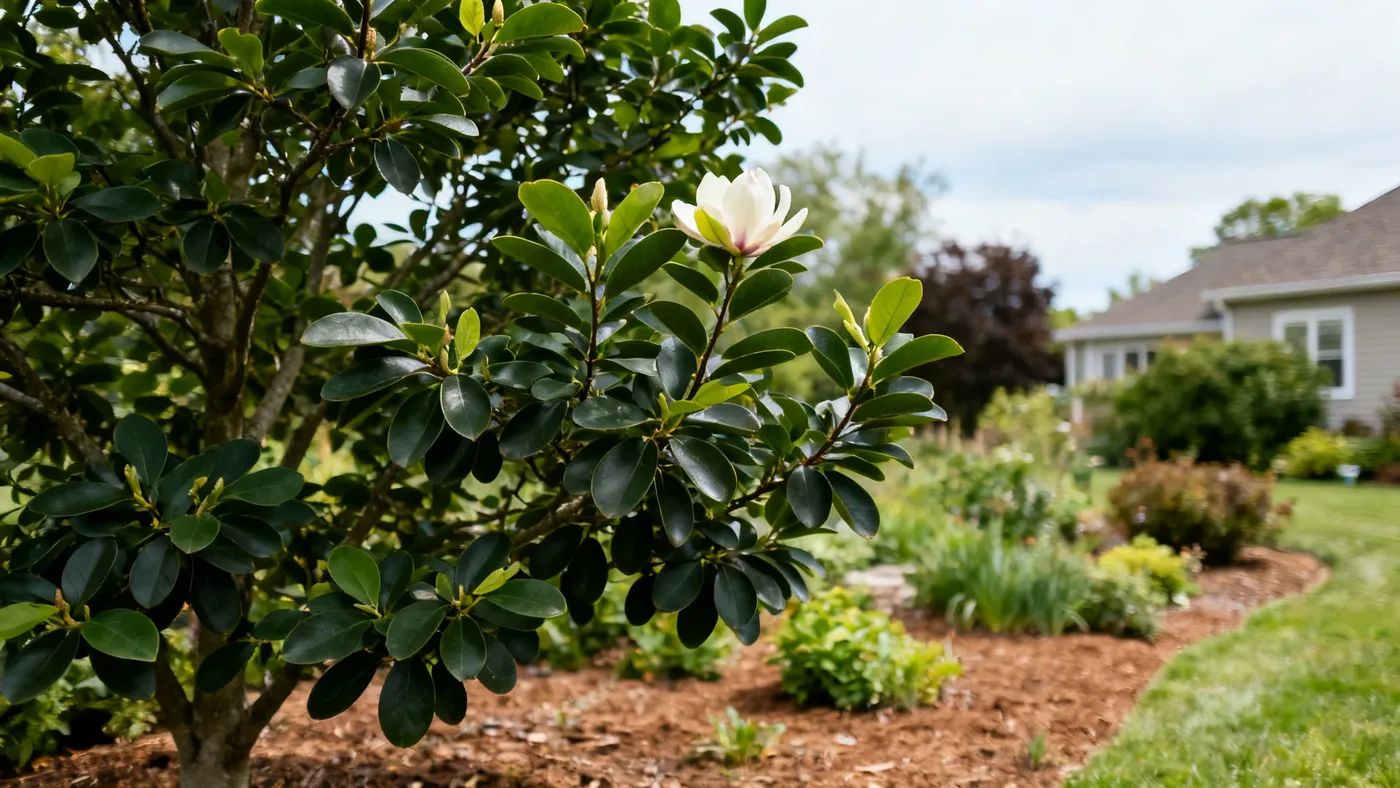
Best Soil for Jane Magnolia: Drainage, pH and Amendments
Jane Magnolia thrives in soil that balances consistent moisture with excellent drainage. Many home gardeners assume that "moist soil" means soggy, then wonder why their magnolia struggles or develops root rot. The key is understanding what your magnolia actually needs in the ground, assessing what you have, and amending accordingly. This guide walks you through the soil preparation process step by step.
What Jane Magnolia Soil Needs
Jane Magnolia performs best in moist, well-drained, humus-rich soil. More specifically, the soil should be adapted to loam or clay-loam if drainage is adequate. Humus enriches the soil with organic matter, which improves both water retention and air circulation at the root zone. Without good drainage, roots waterlog and invite fungal disease; without consistent moisture, the plant dries out and stresses, especially during establishment.
The ideal pH range for Jane Magnolia is slightly acidic to neutral, specifically 5.5 to 6.5. If your soil approaches or exceeds neutral (pH 7 and above), the magnolia may struggle to absorb nutrients, resulting in chlorosis (yellowing leaves with green veins). You don't need perfect acid soil; the plant tolerates pH close to neutral. But if your soil is naturally alkaline, amendments become necessary.
Understanding Soil pH and Why It Matters
Soil pH is a measure of how acidic or alkaline your soil is on a scale of 0 to 14, with 7 being neutral. Values below 7 are acidic; above 7 are alkaline. Jane Magnolia evolved from parent species native to China and Japan, where soils tend toward the acidic side. This heritage shapes the plant's nutrient uptake physiology.
Test your soil before amending. A simple soil test kit (available at most garden centers) or a laboratory test through your local extension service provides baseline pH and nutrient levels. If your soil tests at pH 7.5 or higher, you'll want to lower it before planting or address it over time as the tree matures. Acidifying amendments include sulfur and peat moss, both discussed below.
Assessing Your Current Soil
Before you buy amendments, understand what's already there. Take a shovel and dig a hole about 12 inches deep in the proposed planting area. Observe the soil color, texture, and how it feels when wet. Sandy soil crumbles easily and drains very quickly; clay soil is dense, sticky when wet, and slow to drain; loam is a balanced blend that feels slightly crumbly and drains at a moderate rate.
Next, perform a simple drainage test. Dig a hole about 12 inches deep and fill it with water. Wait 10 minutes, then fill it again. If the water drains away within the next hour, your drainage is adequate. If water still sits after several hours, you have a drainage problem and will need to amend heavily or consider raised-bed planting.
Squeeze a handful of moist soil. If it forms a tight ball that doesn't crumble, you have significant clay and should plan to add compost and possibly sand. If it falls apart immediately, the soil is sandy and lacks organic matter; add compost to improve water retention. Loam will hold together loosely and crumble with slight pressure, indicating good structure.
Materials and Amendments You'll Need
Depending on your soil type, gather these materials before you begin:
- Compost (aged, well-decomposed; 3-4 inches depth for incorporation)
- Peat moss or coconut coir (optional, for acid-loving plants; 1-2 inches)
- Sulfur powder (if soil pH is above 6.5; follow package rates for your pH target)
- Mulch (aged wood chips or pine needles; 2-3 inches, applied after planting)
- Balanced, slow-release fertilizer (formulated for trees and shrubs, applied in early spring)
- Sand (only if soil is very clay-heavy and compacted; coarse sand works best)
- A soil test kit or extension-service test results
- Shovel, garden fork, and measuring tape
Step-by-Step Soil Preparation
Step 1: Test Your Soil pH and Drainage
Collect soil samples from 3 to 4 spots across the planting area, mix them, and test. If you're using a home kit, follow the instructions precisely. For a professional test, contact your local extension service (usually free or low-cost). Record the pH result. If it's 6.5 or below, no acidification is needed. If it's 6.6 to 7.5, you may want to add a modest amount of sulfur or peat moss. If it's above 7.5, plan to amend more aggressively or use containerized peat-based planting mix in the planting hole.
Step 2: Loosen the Planting Area
Using a garden fork, break up compacted soil to a depth of 12 to 15 inches in a circle at least 2 feet wider than the root ball you plan to plant. This loosened zone encourages roots to expand into surrounding soil. In heavy clay, this step is critical; in loamy or sandy soil, it still improves root establishment. Work the fork in crisscross directions, lifting and turning the soil without completely turning it over.
Step 3: Amend Based on Soil Type
For sandy soil: Spread 3 to 4 inches of compost across the prepared area and work it into the top 8 to 10 inches. Compost adds humus, which improves water retention and soil structure. No sulfur is needed unless your pH test shows it's above 7.5.
For clay-heavy or compacted soil: Apply 3 to 4 inches of compost, and if the soil is dense and poorly drained, add 1 to 2 inches of coarse sand. Work these in together using the garden fork. Heavy clay often has poor drainage; sand helps break up the structure, though compost is equally important for preventing the sand from sinking and re-compacting.
For soil with high pH (above 6.5): If your test shows pH 7 or higher, incorporate sulfur according to package directions. Typical rates range from 0.1 to 0.2 pounds per 100 square feet per 1-point pH reduction desired. Mix it thoroughly into the top 8 inches of soil. Sulfur takes time to work (several weeks to months), so apply it before planting if possible, or at planting and accept a slower adjustment over the first year.
Step 4: Create the Planting Hole
Dig a hole slightly wider than the root ball and about the same depth. The top of the root ball should sit level with or slightly above the surrounding soil surface. Backfill with amended soil from Step 3, settling it gently so there are no large air pockets. Water thoroughly to eliminate voids.
Step 5: Mulch and Monitor
After planting, spread 2 to 3 inches of aged wood chips or pine needles around the base. Leave a 2-inch gap between the mulch and the stem to prevent rot. Mulch conserves soil moisture, moderates temperature, and suppresses weeds. Over time, mulch decomposes and adds organic matter to the soil.
For the first growing season, water consistently during dry spells. Jane Magnolia is not drought tolerant once established without supplemental water. Watch the soil: if it feels dry 2 inches below the surface, water deeply. Consistent moisture, combined with good drainage, is the goal.
Tips and Common Mistakes
Tip: Apply a light annual feeding in early spring with a balanced, slow-release, acid-forming fertilizer formulated for trees and shrubs. This maintains soil nutrients over time and supports healthy flowering.
Tip: If you inherit soil with an old pH problem, retest every 1 to 2 years. Sulfur and peat amendments don't last forever; soil naturally reverts toward its original pH over time. Consistent mulching and compost additions help maintain amended soil.
Mistake: Piling mulch against the stem. This invites stem rot and pest damage. Keep a clear ring around the base of the trunk.
Mistake: Over-amending with sand in clay soil. Too much sand (more than 15 to 20 percent) can actually reduce drainage if mixed with clay; the sand particles fill spaces between clay, creating a harder, more compacted mix. Compost is the safer amendment for clay.
Mistake: Planting in soggy soil without addressing drainage. No amendment will fix waterlogged roots. If drainage is severely poor, consider a raised bed, a berm, or choosing a different location.
Expected Results and Long-Term Care
With well-prepared, amended soil, Jane Magnolia can flower within 1 to 3 years as a nursery-grown plant and reach full mature size (10 to 15 feet tall, 8 to 12 feet wide) in roughly 10 to 15 years. The plant is long-lived, often reaching 50+ years with good siting and soil maintenance.
In the first season, focus on establishment: consistent moisture, mulch, and freedom from transplant stress. By year two, the tree should show vigorous growth and begin blooming. pH-corrected soil typically shows measurable improvements in leaf color and vigor within the first growing season.
Over the long term, monitor soil structure. Magnolia roots are shallow and fibrous; they benefit from ongoing organic-matter additions. Refresh mulch every 2 to 3 years as it decomposes. If the plant exhibits yellowing leaves (possible chlorosis) years after planting in supposedly corrected soil, retest pH and consider reapplying sulfur or peat-based top-dressing.
For more details on planting and ongoing care, see the complete Jane Magnolia care guide for every season.
Quick Reference Soil Checklist
| Item | Target / Action |
|---|---|
| Soil Type | Loam or clay-loam with good drainage |
| pH Range | 5.5 to 6.5 (slightly acidic to neutral) |
| Drainage Test | Water drains from 12-inch hole within 1 hour |
| Compost Incorporation | 3 to 4 inches, worked into top 8-10 inches |
| Sulfur (if pH above 6.5) | Per package rate for your target pH reduction |
| Mulch Depth | 2 to 3 inches; 2-inch gap from stem |
| Planting Depth | Root ball level with or slightly above soil surface |
| First-Year Watering | Consistent moisture during dry spells; test soil 2 inches down |
| Annual Fertilizer | Early spring, balanced slow-release for trees/shrubs |
| Retest pH | Every 1 to 2 years if amended; adjust as needed |