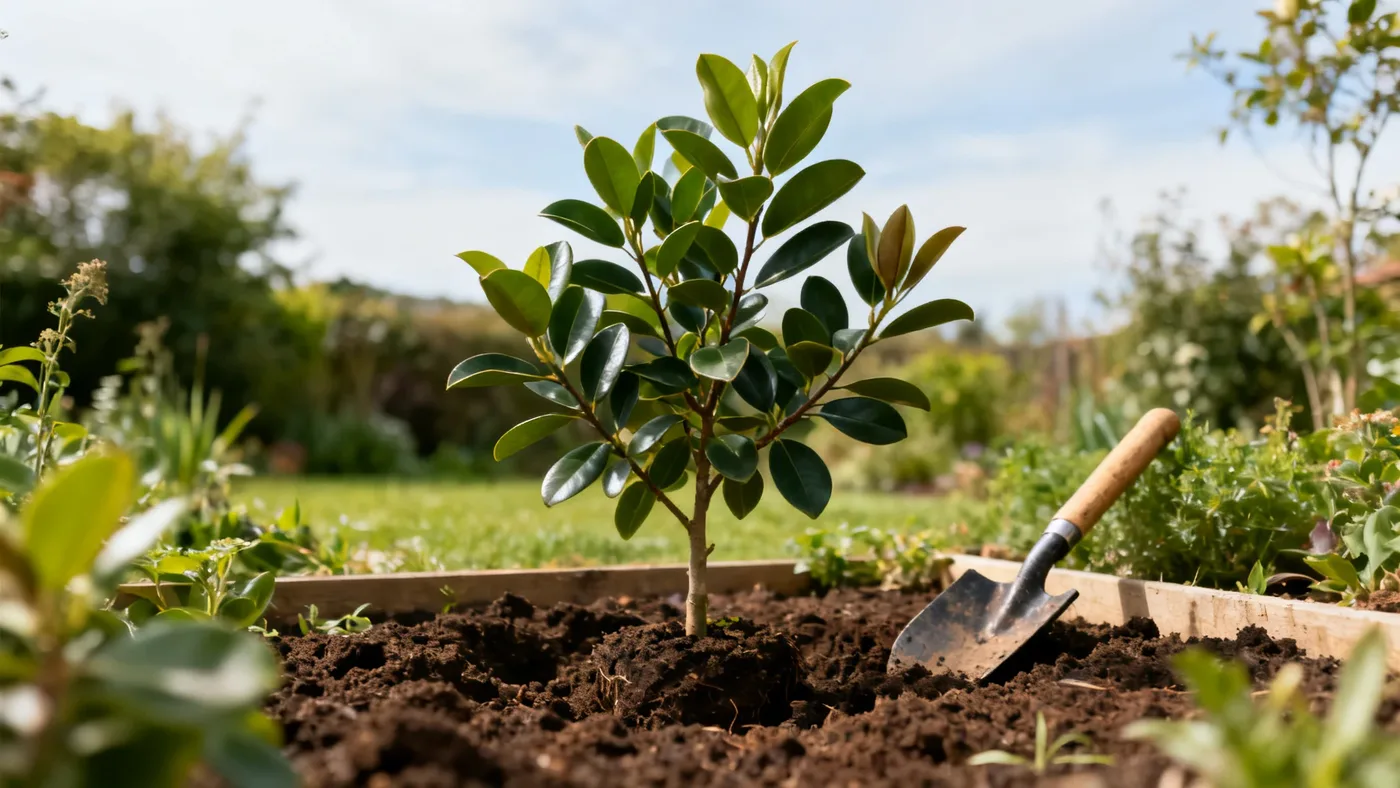
When and How to Transplant an Established Jane Magnolia
Moving an established Jane Magnolia requires more planning than planting a nursery-grown specimen, but it is entirely doable if you time it right and follow the correct steps. The key is understanding when your magnolia is most resilient to the stress of transplanting and how to preserve the root system that has taken years to develop. Whether you are relocating a tree to better sunlight, repositioning it in your landscape design, or making room for other plantings, this guide walks you through the process from start to finish.
Understanding Transplant Timing for Jane Magnolia
Timing is everything when transplanting an established magnolia. The ideal window is early spring or early fall, which matches the general planting season for Jane Magnolia. Early spring (late March through April in most zones) works well because the soil is thawing and roots can begin recovery before summer heat arrives. Early fall (late August through September) gives roots a second chance to establish before winter dormancy.
Avoid transplanting during the bloom period (mid-to-late spring) or during the heat of summer. Transplanting while flowers are open stresses the plant when energy is directed toward flowering rather than recovery. Summer heat intensifies transplant shock because the tree must work harder to move water from damaged roots to active foliage.
Consider the tree's age and size. A Jane Magnolia grows at a slow to moderate rate, roughly 1 foot per year. A tree that has been in your garden for 5 to 8 years will have an established root system that extends beyond what you might expect. Younger trees (under 5 years) transplant more easily; older trees tolerate it but require extra care during recovery.
Materials and Tools You Will Need
Gather these items before you begin digging:
- Shovel and spade: A sharp spade for clean cuts around the root ball; a rounded shovel for lifting soil
- Pruning saw or lopping shears: To cut any roots that are too large or woody to break
- Burlap or heavy fabric: To wrap and secure the root ball during transport
- Rope or twine: For tying burlap in place and moving the tree
- Wheelbarrow or dolly: For moving the wrapped root ball if the tree is heavy
- Well-drained, humus-rich soil: Matching the texture and acidity of your garden soil
- Balanced, slow-release fertilizer: Formulated for trees and shrubs, acid-forming if your soil is alkaline
- Garden hose and water supply: For soaking the tree before and after moving
- Mulch (wood chips or bark): To place around the base after transplanting
- Stakes and soft ties: Only if the tree needs support in the new location (usually not necessary for Jane Magnolia)
Pre-Transplant Preparation
Begin preparing the tree several weeks before the actual move. Water the tree deeply and consistently in the week before transplanting. A well-hydrated root system is less brittle and more resilient to the disturbance.
Assess the size of the root ball you will need to dig. For an established Jane Magnolia, a general rule is to estimate a root ball diameter of 1 foot for every 1 inch of trunk diameter (measured about 6 inches above the soil line). A tree with a 3-inch trunk diameter typically needs a root ball roughly 3 feet across and 2 to 2.5 feet deep. Do not underestimate; smaller root balls mean greater transplant shock.
Prune any damaged branches or crossing limbs before moving. This reduces the crown's water demands during the transplant recovery period. Do not heavily prune; Jane Magnolia flowers on buds that set on old wood, and excessive pruning will reduce next season's bloom. Focus on removing dead or broken wood only.
Step-by-Step Transplanting Process
1. Mark and dig the perimeter. Using a shovel, mark a circle around the base of the tree at a distance equal to your estimated root ball size. Dig a vertical cut straight down around this entire circle, severing roots as you go. Make the cut as clean and vertical as possible. Go to a depth of about 2 to 2.5 feet for an established tree.
2. Undercut the root ball. Insert the shovel under the root ball at an angle, working around the tree in a spiral pattern. Undercut deeper on all sides to separate the bottom of the root ball from the surrounding soil. This step requires patience; rush it and you will shatter the root ball or leave roots behind.
3. Rock the tree gently and wrap the root ball. Once the root ball is undercut, gently rock the tree side to side to loosen it further. Do this slowly and carefully. Have burlap ready nearby. Tip the tree slightly, slide burlap under one side of the root ball, then tip it the other direction and pull the burlap through. Gather the burlap up around the base of the trunk and secure it tightly with rope or twine. The root ball should be completely enclosed to prevent soil from falling away during transport.
4. Move the tree. If the root ball is small enough, two people can lift and carry it on a wheelbarrow. For larger trees, use a sled, dolly, or tractor bucket. Take the most direct route to the new planting hole to minimize handling time. Keep the tree upright and avoid dropping or jarring it.
5. Prepare the new planting hole. The new hole should be dug to match the depth of the root ball (not deeper) and about 1.5 times as wide as the root ball diameter. A hole dug too deep can cause the tree to settle unevenly. Loosen the soil at the bottom of the hole with a fork to encourage root penetration. Add a small amount of compost or well-drained, humus-rich soil to the bottom if your native soil is heavy clay.
6. Place the tree in the hole. Set the wrapped root ball into the center of the hole. Adjust the depth so the top of the root ball is level with the ground surface. The tree should not sit deeper than it was in its previous location. Remove the burlap once the tree is partially supported by soil (after backfilling about halfway).
7. Backfill and water. Use the excavated soil mixed with some compost (about 25 percent compost) to backfill the hole in layers. Tamp gently as you go to eliminate air pockets, but do not compress the soil heavily. Water thoroughly after each layer. The goal is to settle soil around the root ball without creating compacted clay pockets that restrict drainage. Moist, well-drained soil (per Jane Magnolia's preferences) is essential now.
8. Mulch and stake if needed. Once backfilled, apply 2 to 3 inches of wood chips or bark mulch in a ring around the tree base, keeping it a few inches away from the trunk to prevent rot. In most cases, Jane Magnolia does not need staking after transplant unless the new location is exposed to heavy wind or the tree is very large. If you do stake, use soft ties that will not girdle the trunk.
Aftercare and Recovery from Transplant Shock
The weeks and months following transplanting are critical. Jane Magnolia has medium water needs and is not drought tolerant, so consistent moisture is essential during recovery. Water deeply at least twice a week for the first month, then once a week for the rest of the growing season if rainfall is sparse. Do not let the soil dry out completely, but also avoid waterlogging it; aim for soil that is moist but not soggy.
Hold off on fertilizing for at least the first season after transplanting. Fertilizer can burn stressed roots or encourage tender growth that the weakened root system cannot support. In early spring of the second year, apply a light dose of balanced, slow-release, acid-forming fertilizer formulated for trees and shrubs. This mild feeding supports recovery without overwhelming the plant.
Some leaf drop or slower growth in the first year after transplanting is normal and does not indicate failure. This reaction (often called transplant shock) reflects the plant's need to re-establish its root system before pushing vigorous growth. Most Jane Magnolias may take one to two growing seasons to resume their typical slow to moderate growth pattern of about 1 foot per year.
Monitor for signs of severe stress: wilting that does not improve after watering, brown or black bark lesions, or extensive twig dieback. These warrant investigation and possible intervention. Mild leaf yellowing or reduced flowering in the first year is expected and usually resolves on its own.
Tips and Common Mistakes to Avoid
- Do not guess the root ball size. Err on the side of digging a larger root ball rather than a smaller one. A larger root system means fewer severed roots and faster recovery.
- Do not rush the undercut. Take time to work the shovel under the entire root ball. Breaking the root ball into pieces is easy and devastating to recovery.
- Do not transplant during bloom. Moving a tree while it is flowering diverts energy from recovery to flower production. Wait until the blooms have faded.
- Do not plant deeper than the previous depth. Planting too deep can lead to root rot and collar damage. The top of the root ball should align with ground level.
- Do not fertilize immediately. Stressed roots cannot process fertilizer effectively and may be burned by it. Wait until the second year to resume feeding.
- Do not forget water in the first season. Transplant shock is often made worse by drought stress. Consistent moisture is one of the best tools for supporting recovery.
- Do not over-prune. Removing too much foliage reduces the tree's ability to photosynthesize and recover. Prune only dead or broken wood before and immediately after moving.
- Do not skip the burlap wrap. This simple step protects the root ball from drying out and soil loss during transport, dramatically improving transplant success.
Relocating Within Your Landscape
When choosing a new location for your Jane Magnolia, remember that it thrives in full sun to part shade, with best flowering and densest form in full sun. It adapts to loam and clay-loam soils if drainage is adequate, and prefers slightly acidic to neutral soil (pH 5.5 to 6.5). If you are moving it to an area with alkaline soil, you may notice chlorosis (yellowing leaves with green veins) in the first season; this usually improves as the root system deepens into fresher soil.
Space your Jane Magnolia 10 to 15 feet away from other shrubs and trees to allow room for its mature width of 8 to 12 feet. If you are positioning it as a specimen tree or focal point, ensure it has space to develop its natural multi-stemmed form. Avoid planting directly under gutters or in low-lying spots where cold air collects, as unusual late frosts can occasionally damage open flowers despite the tree's mid-to-late spring bloom timing.
For more detailed information on year-round care, visit our complete Jane Magnolia care guide, which covers watering, fertilizing, pruning, and seasonal needs.
Quick Reference Transplanting Checklist
| Task | Timing | Notes |
|---|---|---|
| Water tree deeply | 1 week before move | Hydrated roots are more resilient |
| Assess root ball size | Before digging | 1 ft diameter per 1 in. trunk diameter |
| Prune dead and broken wood | Before transplanting | Minimal pruning only |
| Dig and undercut root ball | Day of transplant | Work slowly; vertical cuts are clean cuts |
| Wrap root ball in burlap | Immediately after digging | Secure tightly with rope or twine |
| Move tree to new location | Day of transplant | Minimize time and handling |
| Dig new hole | Day of transplant | 1.5 times root ball width; depth matches old depth |
| Backfill and water in layers | Day of transplant | Tamp gently; avoid air pockets |
| Mulch base | Day of transplant | 2 to 3 in. layer; keep a few inches from trunk |
| Water deeply | Twice weekly for 4 weeks | Then once weekly if rainfall is sparse |
| Monitor for stress | Weeks 1 to 12 after transplant | Some leaf drop and slower growth is normal |
| Fertilize | Early spring of year 2 | Light dose only; balanced, slow-release formula |